
Microsoft Teams Tips & Tricks You Need To Know
With the online communication platform, Microsoft Teams, becoming a necessity for many workers stuck at home in 2020, it’s only natural for some of the platform’s more understated features to fly under your radar. This list will cover some of the best, both small and large, tips and tricks that you’ll definitely want to know when using Teams in the future!
1. WHEN YOU’RE NOT SPEAKING, MUTE YOURSELF
In a busy Teams video meeting, it’s easy for things to become a disorientating clutter of voices and background noises. Your colleague’s dog or baby might be cute for a little while, but when the barking and crying starts…not so much.
So, for the sake of everyone’s clarity and sanity, it’s wise to mute your voice when you have nothing to contribute to the conversation. And who knows, maybe it’ll somehow save you from some embarrassment!
And just as if you were to enter a physical meeting, if you’re late, it’s courteous to mute yourself (and even turn your camera off) when entering, as to not interrupt anyone.

2. SET YOUR QUIET HOURS
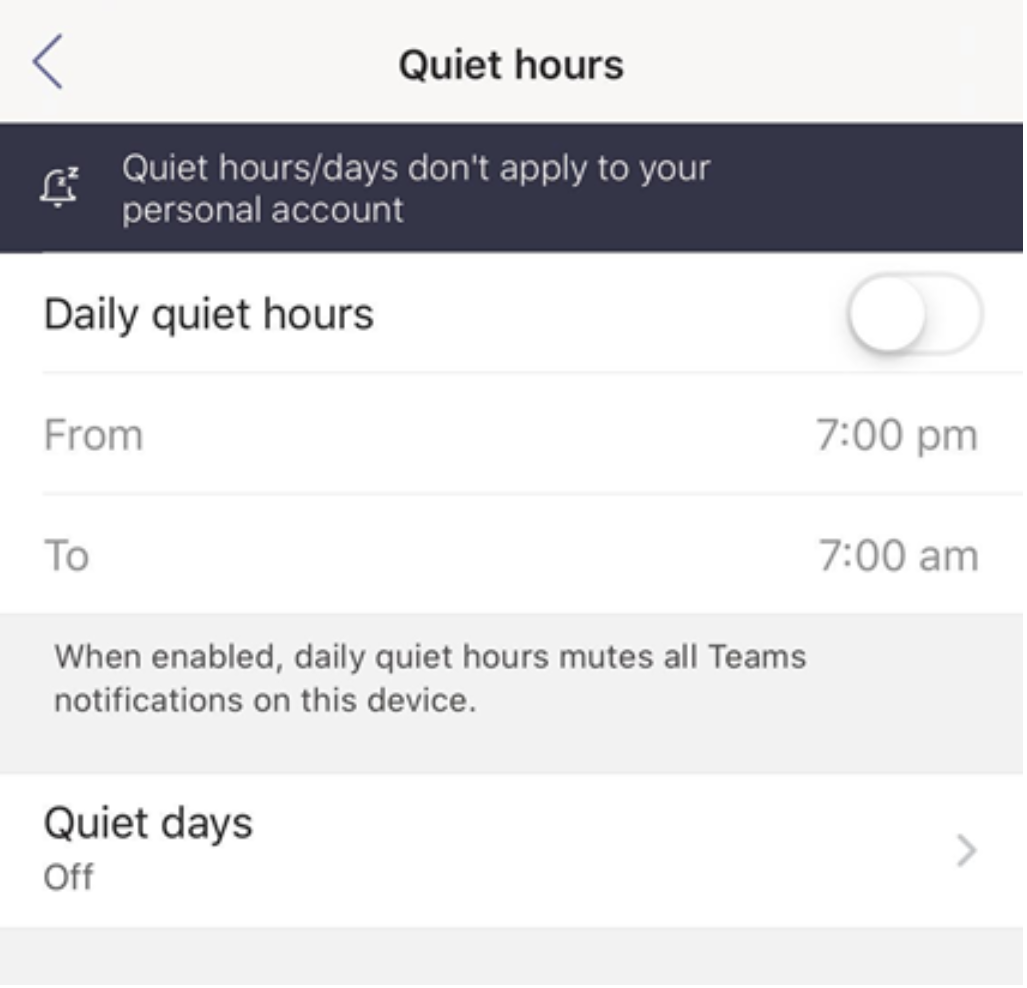
A worry for some newcomers to this “always online” working environment is that there won’t be any escape from work messages coming through on your off-time throughout the week & weekend. However, lucky for us, Teams has created a system to combat this very issue!
When using the Teams app and accessing the Notifications page, you’ll see an option titled Quiet Hours. As seen below, Quiet Hours allows you to set when and when not to receive work notifications on either an hourly or daily basis. So, don’t worry, you still have your freedom!
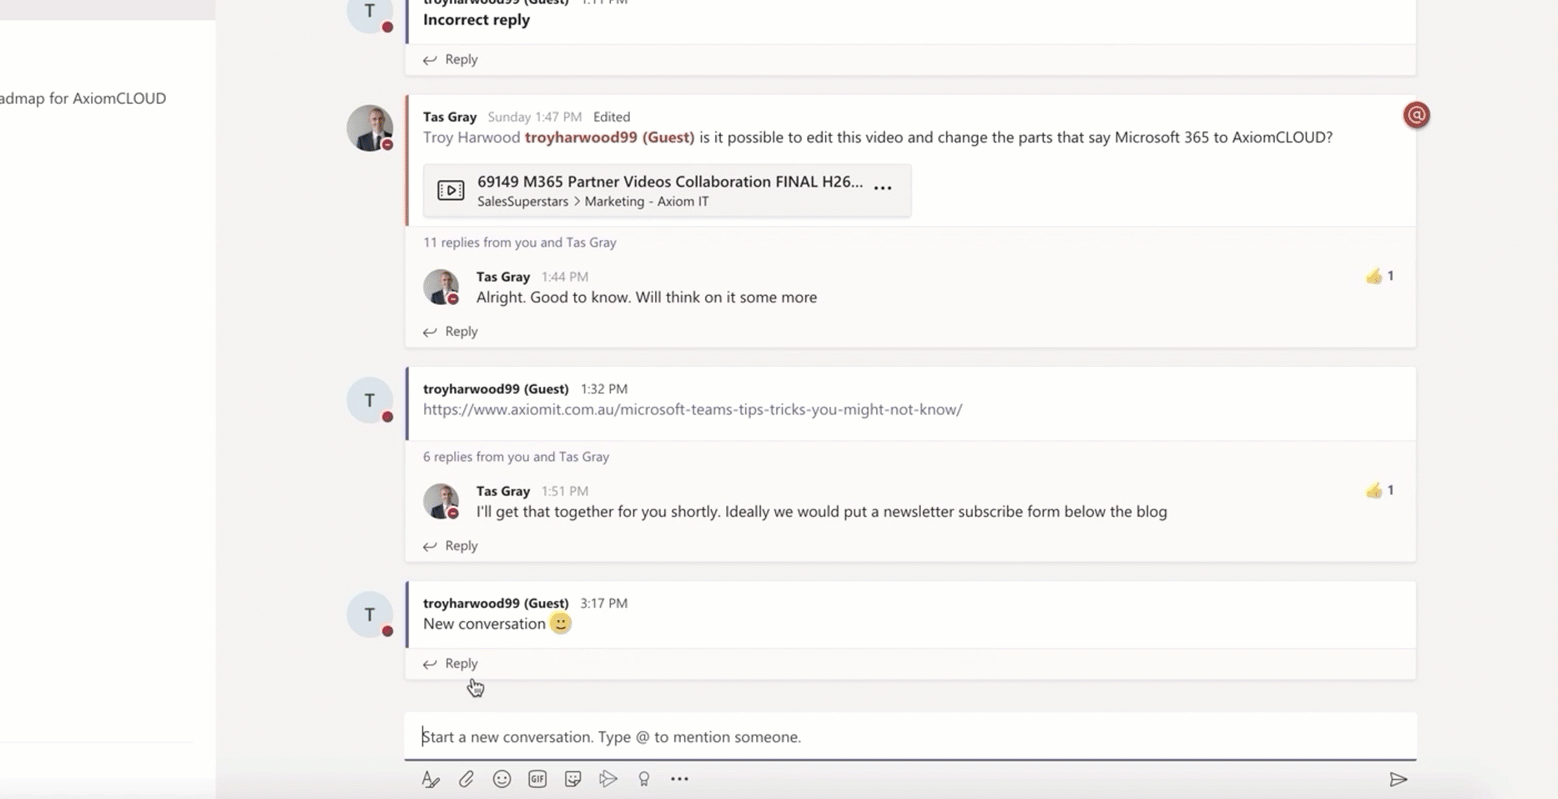
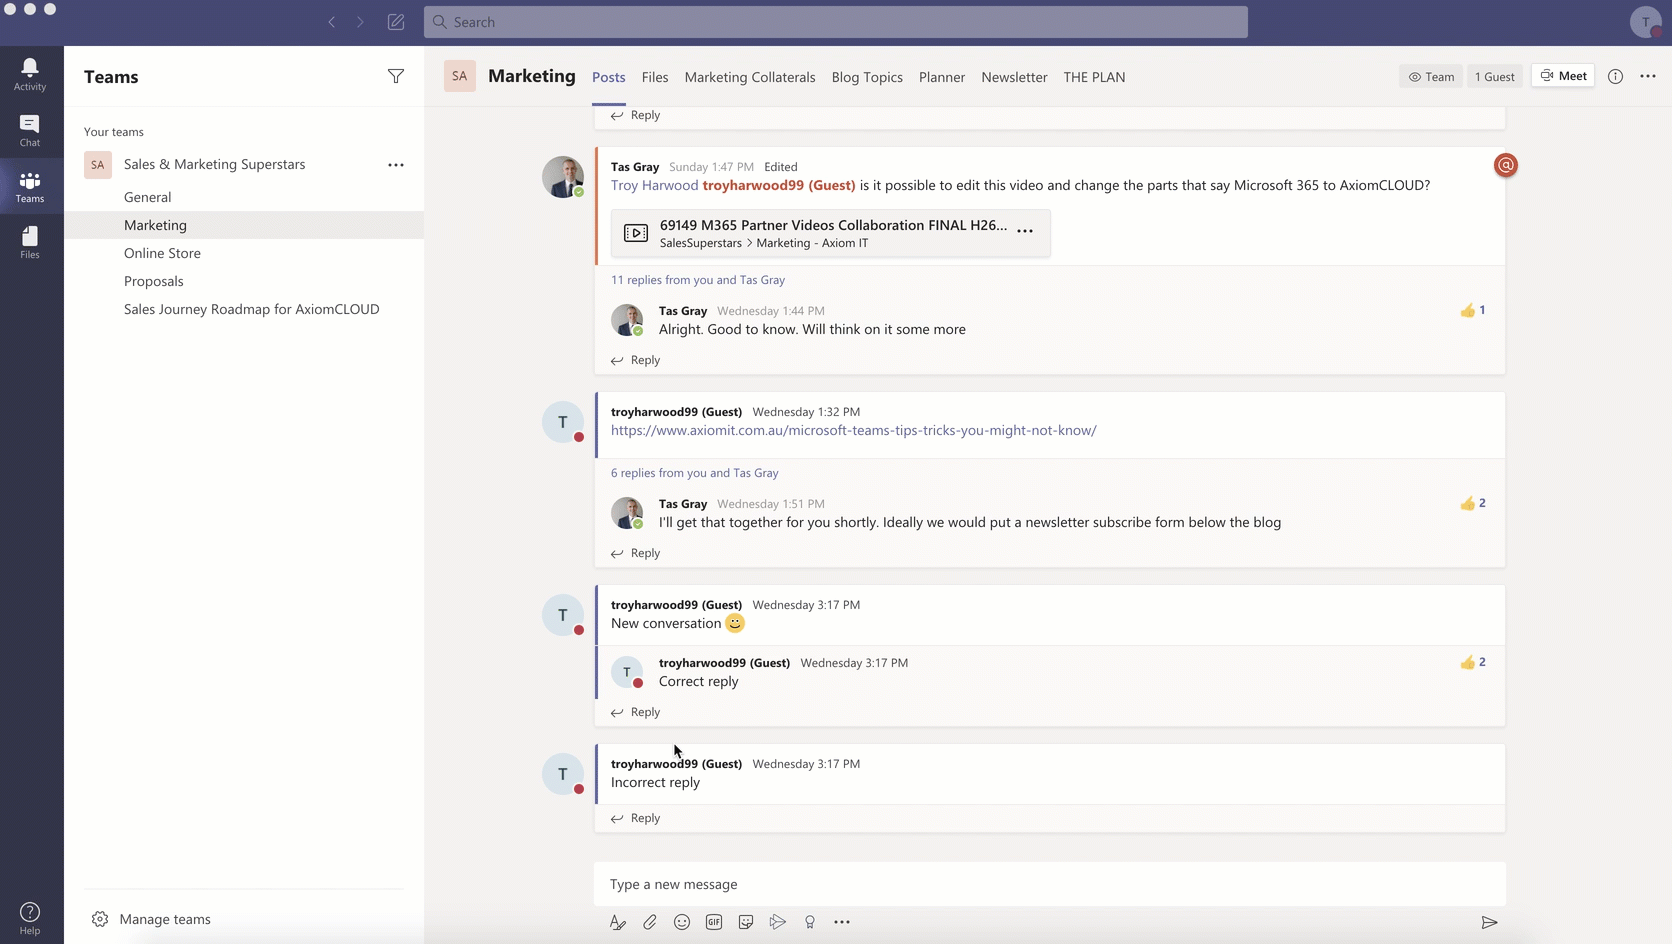
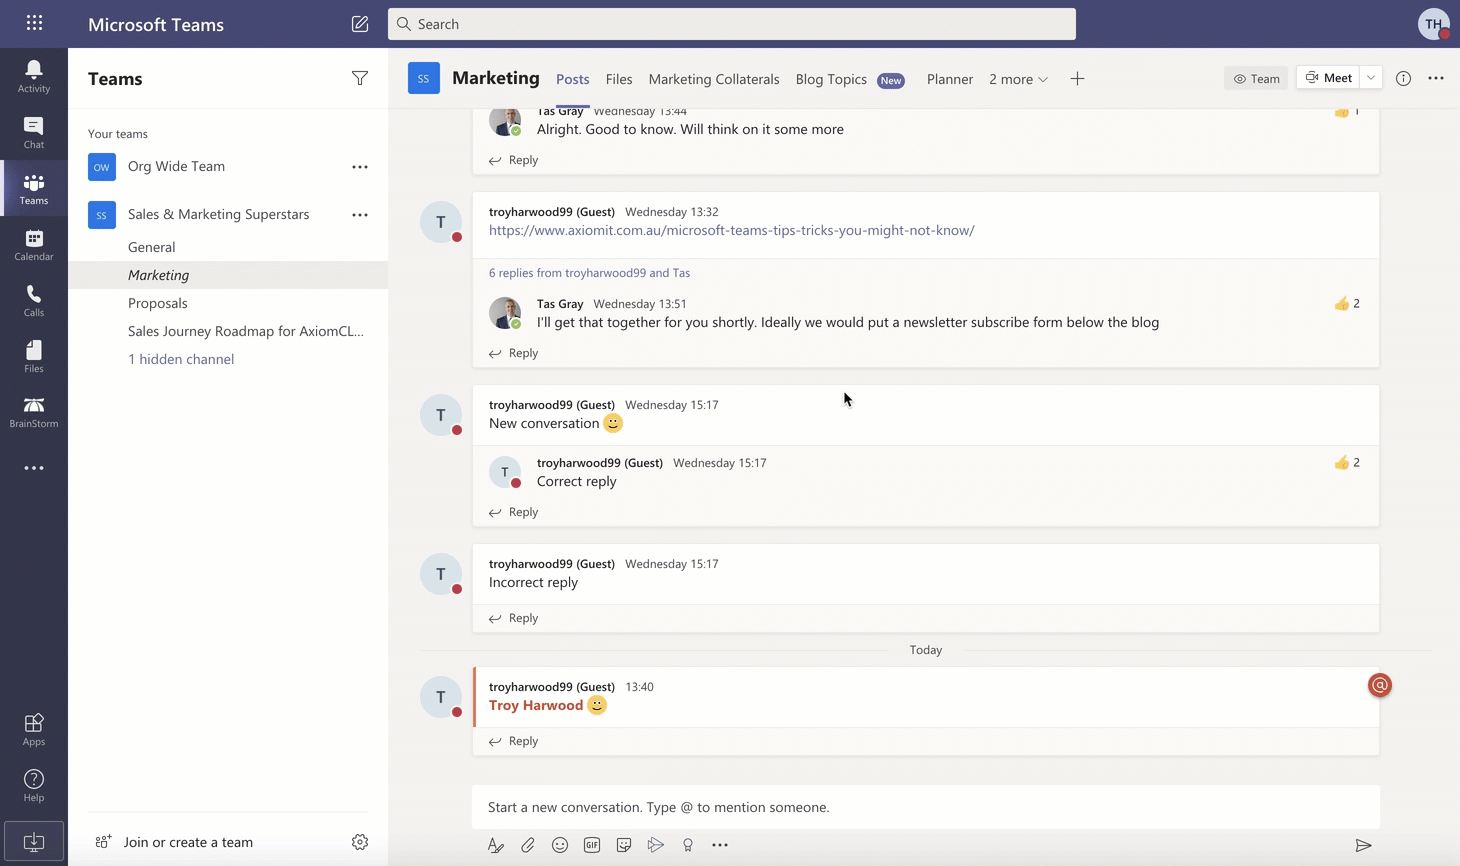
3. DON’T START A NEW CONVERSATION WHEN REPLYING
One of the most common oversights Teams users make is instead of replying to a channel message, they create a whole new message thread instead. This can lead to what some users call island conversations, which are essentially an endless clutter of separate, disorganised message threads with no coherency. And nobody wants that.
So, to make sure you keep your Teams discussions organised, make sure you’re hitting the Reply option underneath a channel message, rather than typing in the ‘Start a New Conversation’ bar down the bottom (as shown in the GIF below).
4. TAGGING OTHER USERS
As seen in the GIF above, you also have the ability to ‘Type @ to mention someone’ in a Teams channel, just like you can on Facebook and Twitter. Sometimes simply typing someone’s name to get their attention in a discussion might not be enough to garner their immediate attention, and if there’s countless other discussions happening on your channel, some users might not even see your messages to them at all.
To make certain you incorporate someone into your discussion, it’s useful to type in @ and their name – which will then give you the option to select their specific name. Once this message is sent within the channel, the mentioned user will be notified of this message. And just like that, you no longer have to worry about your message getting lost and remaining unseen!
5. ADD A PROFESSIONAL PHOTO
On the top right of your Teams app/browser, you’ll be able to click on your profile image (by default, they’ll be the initials of your username). Here, you can select the ‘Change Picture’ option. As seen in the GIF below, this allows you to either upload a new profile image or remove your current one.
Why is this important, though?
Well, giving yourself a personal and professional image allows other users to not only put a face to your name, but also gives everyone a sense of a more personable environment. Some users can feel rather distant when working from home, and for everyone to have profile pictures allows users to feel just that little bit closer to being physically together and not feel so alone! Also, you get to try out some of your modelling skills, of course.
6. POP OUT CHAT
Next time you’re in a meeting or a call, a quick way to multitask and seamlessly pass on information to one another, is by the pop out chat feature. This allows you to open your group and one-on-one chats into their own individual windows. From there, you can resize and reposition the window to whatever’s most suitable to your desktop layout.
To do this, simply go to your ‘Chat’ option on the left hand side of your app. From there, you can either double click on the chat title you wish to open or select the three dots beside the chat name – which will also give you the option to pop out the chat. And that’s all there is to it! Now, you can multitask and communicate with ease all the livelong day.
Make note, this feature is currently not available for Teams on the web or mobile.
7. BLUR YOUR BACKGROUND
Similar to muting yourself in a video call/meeting, it can be equally useful to blur your background. Not only does it put the image’s focus on you, it takes away any possibility of other users being distracted by the background of your office, living room, or wherever you may be. Also, it can give you and your home that bit more privacy!
To do this, when on or going into a call, select the three dots at the bottom of your screen. Then, you will be given the option to ‘Show Background Effects’.
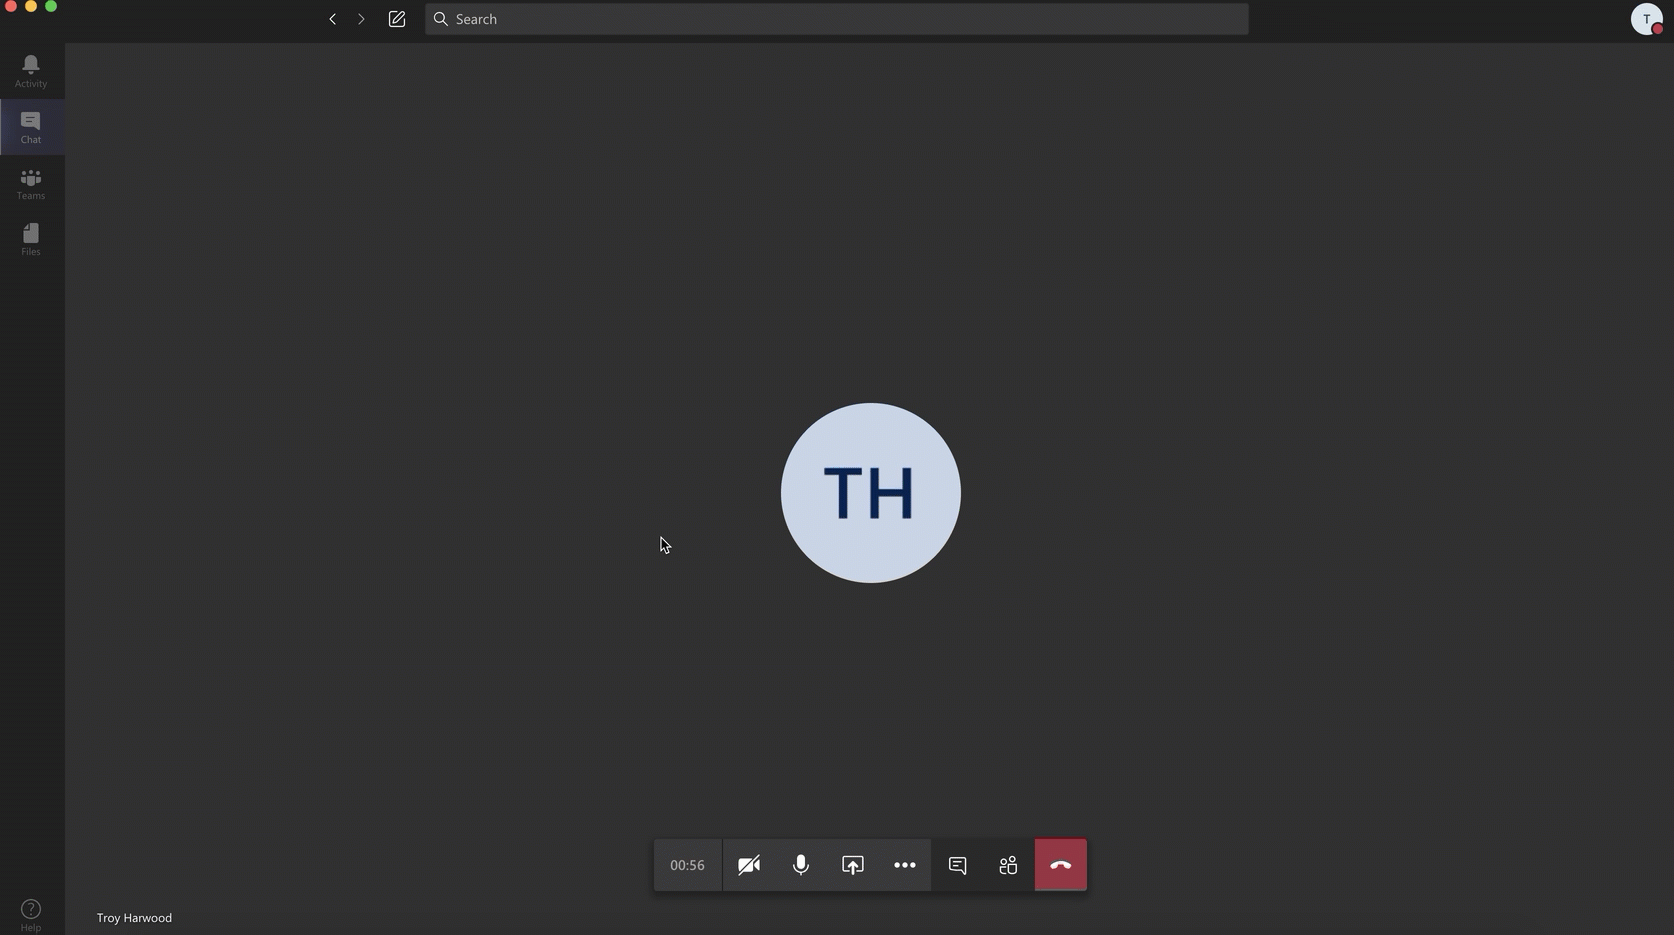
Upon selecting the background effects option, you will be given a list of default backgrounds. The first option, on the top right, is the ability to blur your background. However, if you want something a little more personalised, you can always select ‘Add New’ underneath the Background Settings title (this is a feature in the latest update of the app, so make sure to get your hands on that!).
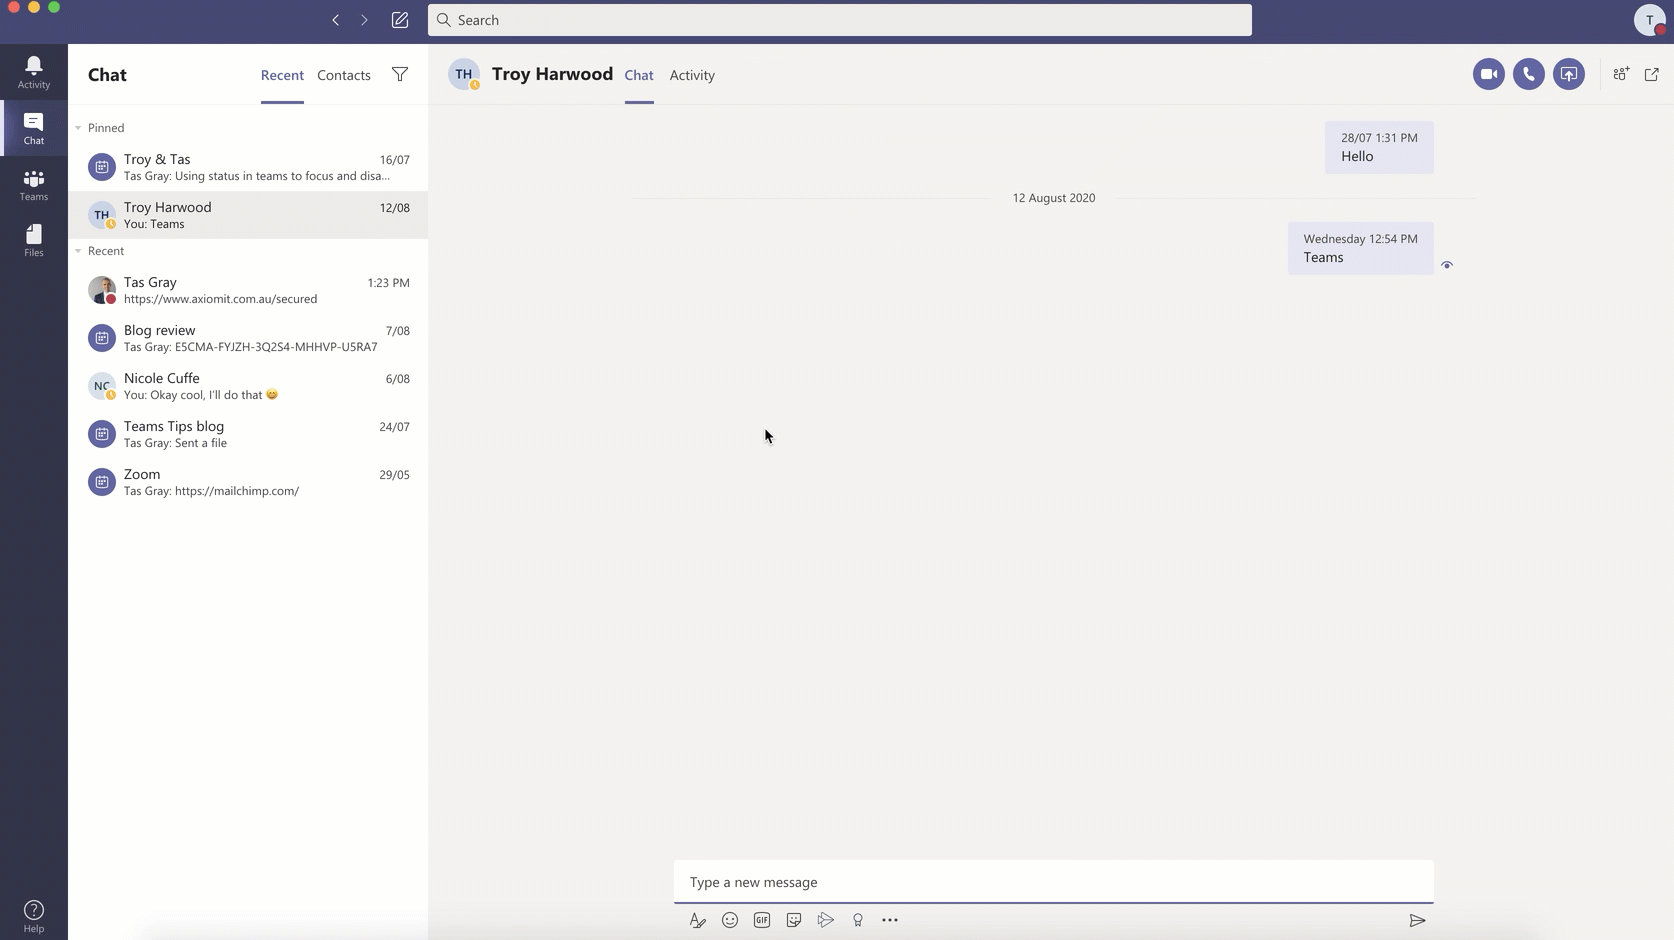
8. PIN CONTACTS
With the ease of messaging features on Teams, it’s easy for your various chats to become complicated and overwhelming. Luckily, however, in the Chat tab on the left hand side of your app, clicking on the three dots beside a particular discussion name gives you the ability to pin the chat.
As seen in the GIF above, your selected discussion will then move up to the top of your chat page, separating your pinned chats from all the clutter below. Then, if you wish to unpin it, simply click on the three dots beside the chosen chat again and you’ll be given the option to do so.